DIY: Wedding Day Necklace
Materials:
Head to a craft or bead store, like Michael’s. They have a great bead selection (certain stores more options than others- but I think you can also order online). I also got clasps that had multiple hooks or loops so that we would have more than one strand of beads coming from the one clasp. There are also plenty of bead shops and craft shops that I am sure would have great selections.
You can find the clear jewelry string (nylon- not stretchy) at Michaels, or fishing line from any local Target (coming to Canada in 2013)
or Walmart store will suffice as well.
Instructions:
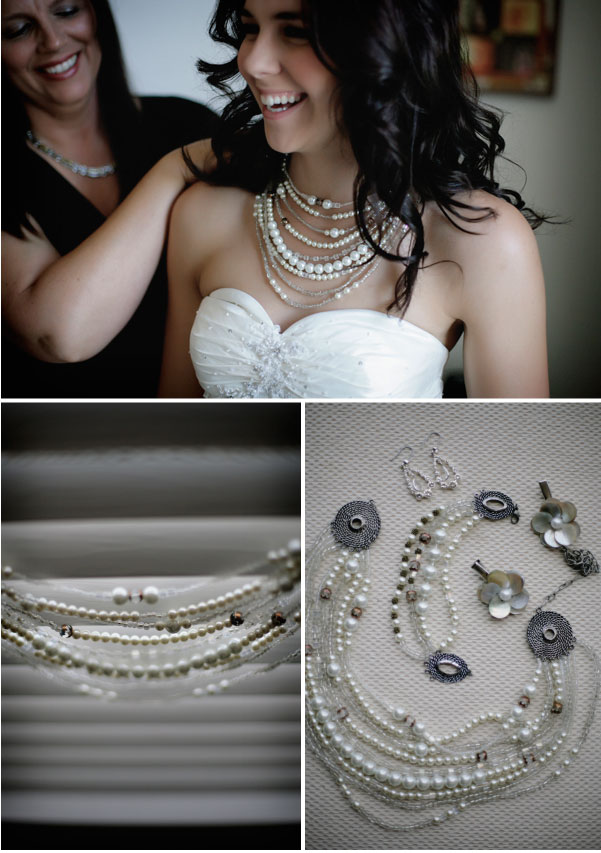
The basic philosophy in going into the necklace was that we wanted it to be eclectic and sweet- so, recommend sticking with jewels that match your color scheme but still added a bit of spark every now and again. Since each strand connected to a different hook, we basically just started with one layer, and as we added more, made them slightly longer or slightly shorter to layer them one right on top of the other- After each layer we were sure to hold it up to make sure they were falling properly. If you want the necklace a bit fuller- you can add more than one strand of beads to each individual hook.
A helpful hint: When you tie knots at the ends when you are attaching the strands from one latch to another- after tying several knots to secure the beading- Cut off the excess clear string and use a lighter to burn the very tip of the string so that it shrivels up and creates a small lump of melted plastic. This helps to secure the knot from slipping loose as well as from creating an itchy point. Don’t get the fire too close (you only need to hold it near -not directly on)- or it will burn more than desired and snap some of the base knots as well.
If this is over your head, email us at coralie@bespoke-makeup.com, and we’ll happy to set you up with someone who can make you one.
Special thanks to Style Me Pretty Blog, 2010 for the photos & idea.
